Showing posts with label Great DIY Projects. Show all posts

Wednesday, April 25, 2012

One Fabulous DIY Dresser Redo


Have you seen this latest DIY project by Jenny Komenda? 
She always takes her projects to the next level! 

This time, painting a dresser with an "inlay" pattern. See how she did it here.

Monday, March 26, 2012

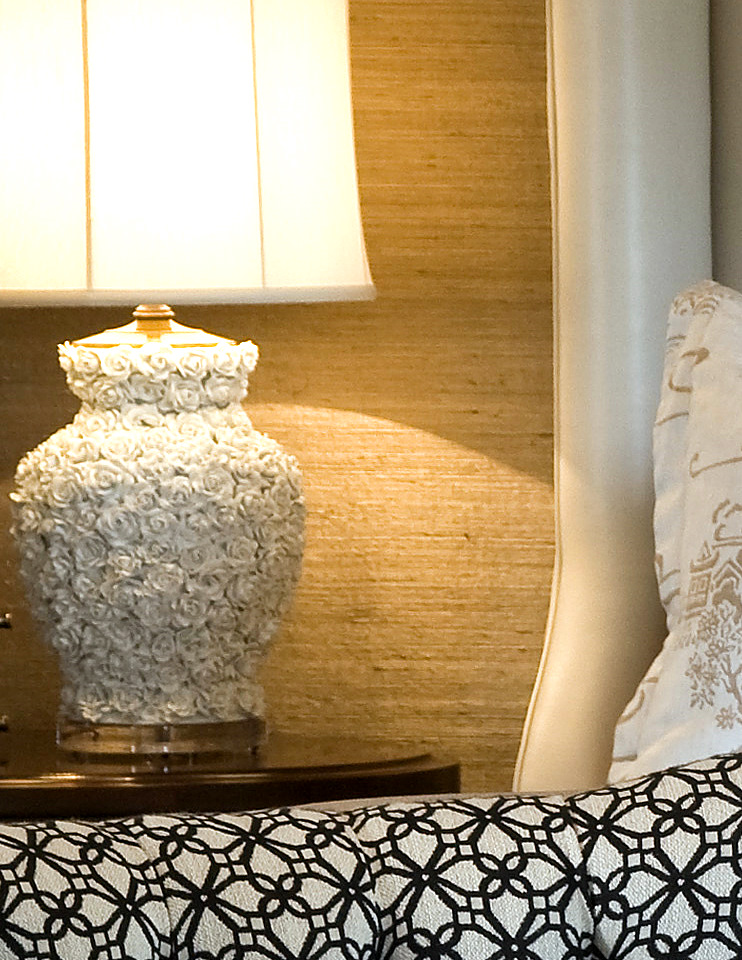
Can't Find The Perfect Lamp? Use A Vase!

I came across this design on Pinterest last week, and when clicking over to see the resource I was taken to Houzz, where someone suggested this lamp might have been made from a 1940's vase. What a fantastic idea, if you can't find just the right lamp, how about looking for a vase and put your DIY skills to work! (Or find a great lamp shop to work with like Naomi's here in Portland.)


Design by Emily Ruddo

A designer to be featured in the upcoming issue of House of Fifty did just such a project. When a pair of fantastically (expensive) vintage Italian lamps were spied on 1stdibs, perfect for a project but not the budget, the look was replicated on a budget by finding look-alike vases.


Cassity from Remodelaholic turned a glass vase she had on hand into a lamp when her search for a "glass bottle" lamp came up empty. The result is not only great but she makes it look easy!

{vase before}

{the supplies}

 {vase after...a lamp}
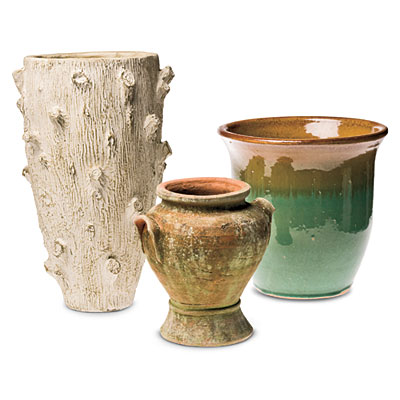
And all types of vases can work, ones with larger openings. I found a helpful tutorial at Southern Living showing how to turn these type of vases into lamps.


"Following the instructions on the box of plaster of Paris, mix enough to fill about one-fourth the depth of your pot. The plaster dries quickly, so be ready to pour immediately after mixing. Center the pipe, socket side up, (yes, that would be smart!) inside the pot."

How about that? I never knew...


I want to try this project! Have you?

Thursday, March 15, 2012

Simple Is Best

A little bit of simple from Little Bit Funky...painted wooden spoon handles.


Crystals wrote on her blog: "I just knew my wooden utensils were meant for greater things. I gathered them up, scuffed the shiny ones a little with sandpaper and painted myself a rainbow. Once they are dry they will be coated with a layer of food/baby/people safe shellac. I used regular non-toxic craft paint and was sure to keep my painted area pretty far from where it would come in contact with food on a regular basis."

before

Colorful after!

Monday, October 10, 2011

Hand Painted Trellis Walls by Gorgeous Shiny Things

I am so taken with the talent of Danika from Gorgeous Shiny Things!
One of her projects I adore are the hand painted walls inside her back entry.


From this...


...to the final result!
To read how Danika did this project visit her blog here.

Wednesday, September 28, 2011

Seriously? I Would Have Never Seen This Potential!


Adri and Jeremy of Dream Book Design have been one busy couple, turning their fixer into a keeper!
And this project of theirs is insanely fabulous.

"A couple of months ago J bought this massive card catalog from Craigslist. It is from a closed down old Phoenix Public Library. It was so incredible, but yet we had no idea what the heck to do with it. It sat in the garage for a good four months until one day my hubby had a "light bulb" moment and decided he would take it apart and transform it into the most beautiful buffet ever...really, ever!

This is what we started with..."


And this is what they did:

1. All 72 drawers were removed and numbered with tape {so each could find its way back home later!}
2. The outside plywood casing of the original cabinet was also removed.
3. Next the four sections of 18 slots that were stacked 4x1 were taken apart from one another and reattached side by side.


4. Then two 4'x8' sections of oak plywood, cut to size at Lowe's, became the new top and base. The original casings were used for the sides to preserve the character of the piece.


5. Eight legs from Lowe's were attached to the base sheet of plywood in a diamond pattern to support the weight of the card catalog.
6. 3/4" trim was used to edge the new base.


7. Everything was sanded, re-sanded, and sanded some more to really smooth things out.
8. All 72 drawers were painted with Primer-in-One from Home Depot and Behr Premium Plus Ultra paint in Rhino.
9. Stain, Minwax Dark Walnut 2716, was then rubbed all over with a small brush and a few rags to give the antique look, followed by a little more sanding and then a layer Minwax wipe on polyurethane to seal it.
10. Finally, the original hardware was reattached to each drawer.


I'm exhausted just thinking about this project...but completely and utterly impressed!
If you haven't been by their blog, here's the link to do so.

{Thanks Adri for letting me share your project on my blog today!}

Friday, September 16, 2011

Trend Alert: Short Curtains!

Would you hang short curtains in a room in your home?


Natalie from Natty by Design did, and they add just the right amount of color and fun to her daughter's room!


To see more fantastic rooms in which short curtains are used with success, read "Trend Alert: The Long and Short of It" in the Fall issue of House of Fifty, beginning on page 20. Emily A. Clark writes a fun piece that explains what type of rooms short drapes look best in!

Friday, September 9, 2011

Now This Is A Wall Treatment

This wall treatment caught my eye the other night when I was catching up on a little work while the TV was on in the background. HGTV's new Urban Oasis in Chicago was being featured, and I probably wouldn't have thought twice about the walls in the bedroom, but then they starting talking about how the look was achieved and I had to look up and watch!


Pretty, huh? And looks like it could be wallpaper, yes?


Nope. Instead, Michael Boudreault painted the walls using this method:


Lining up and taping a template with a design covering its surface to a section of the wall...


...Michael then traced the pattern with a wheel which punctured little holes along the pattern lines.


Afterwards he took a nylon filled with chalk dust to transfer the pattern onto the wall.

(I believe it was chalk dust. At this point I made sure I was taping the show so I could rewind to capture photos of the steps, so was half listening!)


Once one section was done, the template was moved over and aligned with the previous placement and the above steps repeated...over all the walls in the room. Tedious, I tell you!!


Then the painting began.


Using two tones for a dimensional look...


This is the final result. 

It looks very traditional and feminine before all the furnishing are added in. But afterwards, paired with the more modern and masculine decor, the result is really quite beautiful and balanced.


The pattern was inspired by the ironwork seen on the Carson Pirie Scott building on State Street. This was fun to see, I worked at this store while putting myself through fashion design school at SAIC! Great memories to be sure, the school was located right across the street on Wabash.


It all just makes me want to hop on a plane to take in all the sights. Chicago is perfect in the early fall!

Monday, August 22, 2011

DIY ART: Ribba Frame + Marbled Paper = Fabulous!

Taking inspiration from the DIY Art project done by Kristen at kristen f. davis design, Danielle Oakey was able to stick to her client's budget while introducing a beautiful piece of artwork which enhances a guest room design beautifully!


{From the 'Design 101' article beginning on page 128 in the Fall issue of House of Fifty}

This could not be easier to do.

Ribba Frame from Ikea

Simply find an affordable frame...
{we love Ikea's options!}

Marbled paper from Paper Moho.

...and add a great paper of your choice.

A piece of a favorite fabric or wallpaper can be framed with equally effective results, just think of the possibilities!

Wednesday, August 17, 2011

Be Nice Or Leave

Just look at this foyer update by Carmel of Our Fifth House.


She painted a small portion of the wall area in the entry with magnetic primer and chalkboard paint...


...and added a mix of letters and chalk. Adore!


We are big fans of Carmel at HOF; do you recall the stencil article title page in our latest issue?


To see more of this stencil project read HOF, beginning on page 14 and also here on Carmel's blog.
Thanks for the inspiration!